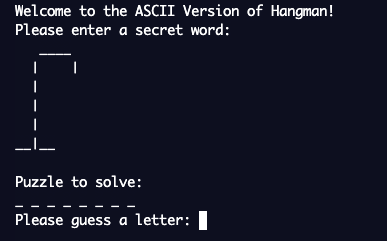
All of us have played hangman before, the classic game where one person tries to guess someone else’s word. You can play it anywhere and it’s extremely simple, making it one of the best childhood games. It is actually fairly simple to make it in Java and should be a fun little project.
Here is the final code on repl.it.
A basic understanding of Java and general concepts like conditionals and loops will make this workshop easier, but anyone who is willing to learn along the way can join along!
Part 1: Getting Started
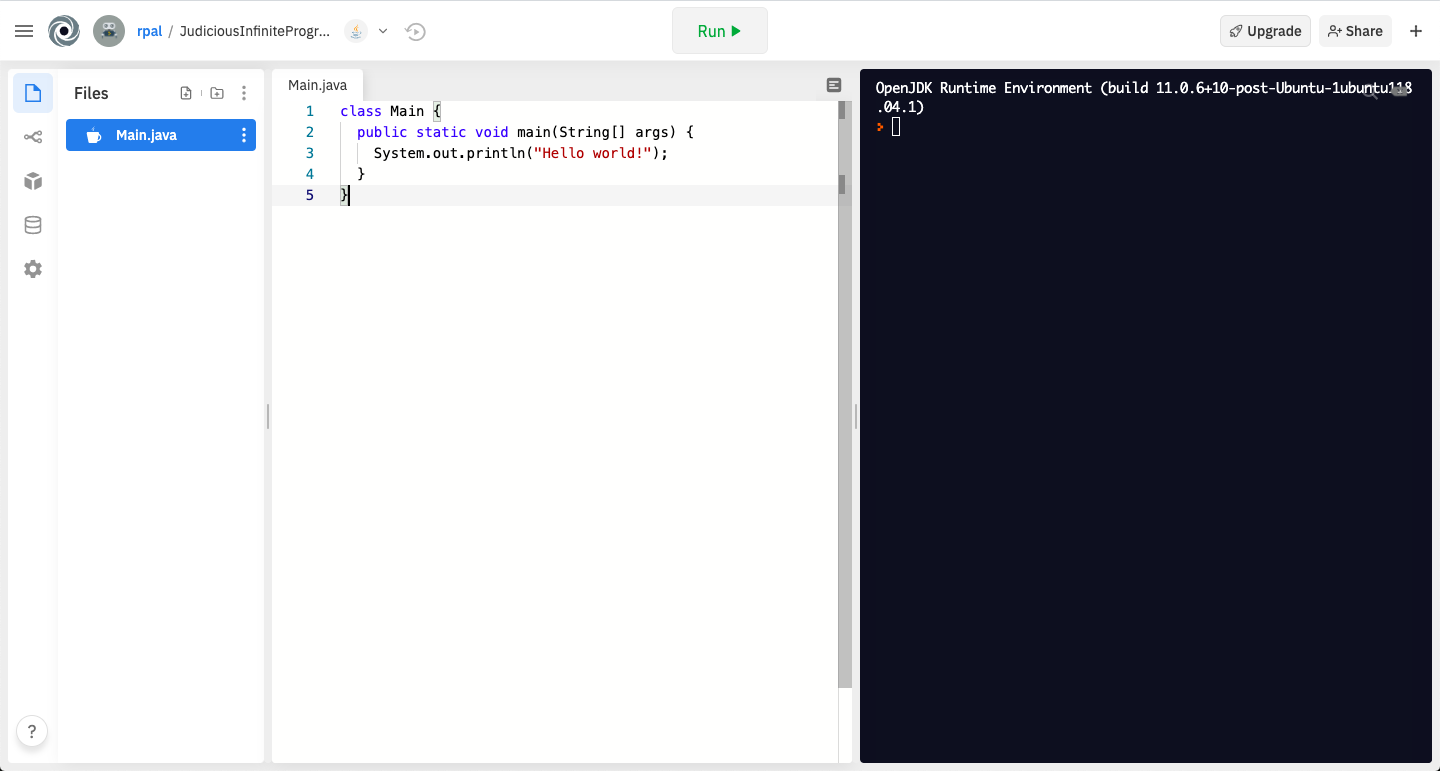
Ok, let's start coding! Today, we will be using repl.it, a super convenient online code editor. Start up your Java program by going to repl.it/languages/java. Your coding environment will spin up in a few seconds!
Part 2: The Man Class
For our hangman game, we will be creating two classes, one of them being a Man class. We could squeeze all the code into a single class, but we find separating the code into two classes to be easier. The Man class will be handling everything related to the hangman, such as the drawing of the hangman, and keeping track of whether it’s dead or alive.
Our fully constructed man will look like this:
 O
\|/
/ \
As you can see, it uses O, |, /, and \\.
Start by creating a file called Man.java file. Then, declare a class called Man:
public class Man {

}
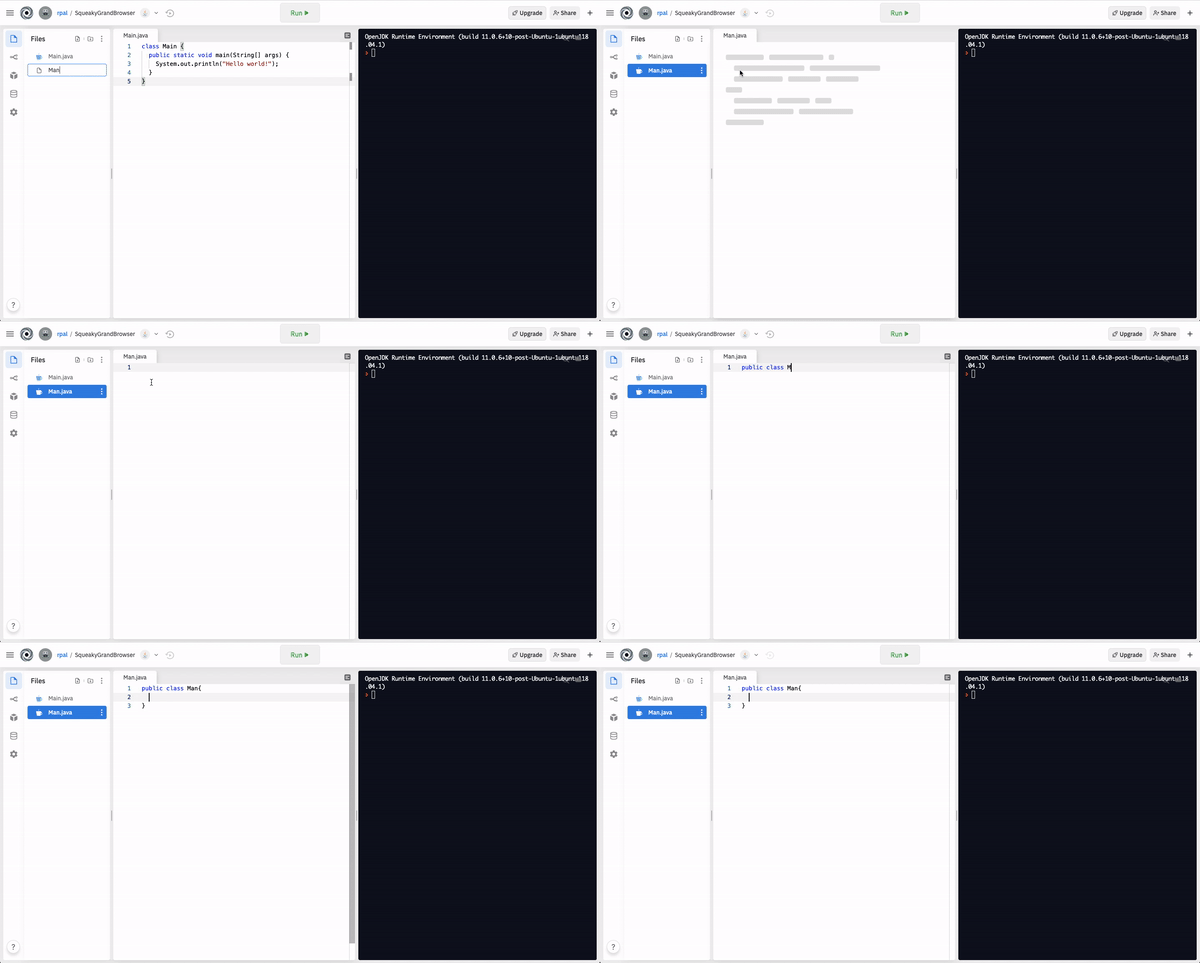
We use the public keyword so that our Man can be accessed by other classes too (you will see that in comes in handy in later steps). Now let’s create some fields, which are variables specific to the class.
public class Man {
  static final int MAX_INCORRECT = 6;
  int numIncorrect;
  char[] body;
}
MAX_INCORRECTis a constant, so we use thestaticandfinalmodifiers to indicate that it will remain the same for all instances ofManand never change. Here it’s an integer that never changes.numIncorrectis an integer that keeps track of the number of incorrect guesses.bodyis an Array of characters that stores the body parts of the hangman.
In Java, classes typically need a constructor, so let’s get started with that. We have already declared the fields: the constructor is where we can assign initial values to those fields.
The Man is 3 characters wide and 3 characters tall, so we need to create an array of characters of that size. You might be wondering how to create line breaks between each row of the array. We can do that by using \n which represents a line break. Anything after \n will be on the next line. We initialize the man like so. We also set numIncorrect to 0, because the user hasn’t made any incorrect guesses yet.
Place the constructor within the Man class declaration like below:
public class Man{
  // Instance variables go here...

  public Man() {
    // Initialize the Man object
    body = new char[] {' ', ' ', ' ', '\n', ' ', ' ', ' ', '\n', ' ', ' ', ' ', '\n'};
    numIncorrect = 0;
  }
}
The body array creates an invisible grid in which the man can be placed like the one below.
+---+---+---+----+
|   |   |   | \n |
+---+---+---+----+
|   |   |   | \n |
+---+---+---+----+
|   |   |   | \n |
+---+---+---+----+
Now that we've created our man, how will we know when he dies? Well, first, we need to set the conditions for him to stay alive. Per the rules of hangman, the man will stay alive as long as the number of incorrect guesses is less than the maximum allowed number of incorrect guesses. We've already declared and initialized these variables above, so we can use them to create a boolean method called isAlive().
At the bottom of your Man class, add:
public boolean isAlive() {
  return numIncorrect < MAX_INCORRECT;
}
A boolean is a data type that stores whether something is true or false. Here, we're writing a boolean method called isAlive which will simply return true or false, depending on whether or not the current number of incorrect guesses is less than the maximum allowed incorrect guesses.
During the game, we also would like to print the man after every turn, just to remind the user how close they are to losing. Java allows us to combine an array of characters and print them out as a string using the built-in String class, which has a constructor that creates a String from an Array of characters.
We can add this right below our isAlive method at the bottom of the Man class:
public String toString() {
  return new String(body);
}
Hope you’re enjoying this project! Now we need to tackle the hang method, which is the hardest part of the Man class. But don’t worry, we’re sure you’ll get the hang of it.
The difficulty of the hang() method is that we need to hang different parts of the man according to how many incorrect guesses the user has so far. This can be done in multiple ways, like using if statements, but here we will use the switch statement, which is an often-forgotten functionality. You can pass in a variable to the switch statement, and then write specific code for each of the different cases or possibilities of that variable, using the keyword case.
Here, we want to pass in numIncorrect and add body parts to the man according to how many wrong guesses there are. The code looks long, but we assure it’s not as scary as it may seem.
public void hang() {
  numIncorrect++;
  switch(numIncorrect){
	case 1:
	  body[1] = 'O';
	  break;
	case 2:
	  body[5] = '|';
	  break;
	case 3:
	  body[4] = '\\';
	  break;
	case 4:
	  body[6] = '/';
	  break;
	case 5:
	  body[8]='/';
	  break;
	case 6:
	  body[10] = '\\';
	  break;
  }
}
If we just look at the case 1: segment of the code: our code is basically saying that it will set the second element of body (Arrays are 0 indexed) to O. The illustrations below indicate which index of the body Arrays corresponds to which body part of the man. Also, you may have noticed that for the left arm and right leg, we used 2 backward slashes, not 1. This is because \ alone is a special Java character, like \n for linebreak, and Java will not recognize it. So we have to add an extra \ so that it prints out an actual backslash.
+---+---+----+----+   +---+---+---+----+
| 0 | 1 | 2  | 3  |   |   | O |   | \n |
+---+---+----+----+   +---+---+---+----+
| 4 | 5 | 6  | 7  |   | \ | | | / | \n |
+---+---+----+----+   +---+---+---+----+
| 8 | 9 | 10 | 11 |   | / |   | \ | \n |
+---+---+----+----+   +---+---+---+----+
Part 3: Trying out the Man Class
Believe or not, we’re done with the Man class! Before moving onto building the hangman game, let’s test out the hangman first and see if it is printed out correctly. All the test code will be in the main() method because all Java code is run in the main() method.
The following code can be added to the bottom of the Man class.
public static void main(String[] args) {
  Man m = new Man();
  for(int i=0; i<Man.MAX_INCORRECT; i++) {
    m.hang();
    System.out.println(m);
  }
}
By running Man m = new Man(), we are calling the constructor we previously wrote to create a Man object and assigning it to the variable m. We can then test the man's functionality using a for loop, and hanging the man until he is dead.
Repl is set up to run our Main class, so we will need to run a few commands to try out our Man class now. Java is a compiled language, meaning that first our program must be converted to machine code before being run. We can do this by running the Java compiler. First type javac Man.java into the console on the right of your screen to compile your Man class.
This will generate a Man.class file (it might not show up in the repl file explorer, but don’t worry - it should be there!).
Next type java Man and see what happens. You should see all the different stages of the man being hanged before dying. Hopefully your output looks something like this!

Now let’s take this man class and use it in our Main class.
Part 4: The Main Class
For the game logic, all of our code will live inside the main method in the Main class (the file should be called Main.java in the side panel). When you press the “Run” button in Repl, this is what is being run, just like how we tried out the Man class.
First off, we want to print a welcome message, just so people know they are playing hangman. This line can go at the top of the main method and replace the Hello World print statement that Repl has already given us.
System.out.println("Welcome to the ASCII Version of Hangman!");
Now you’re probably asking how the game knows what word you choose. The console actually has many useful functions for this. First, we want to create a Console object and make that Console object read in a password which hides the word when typing. Then, we want to store that password into an Array of characters and convert each letter into uppercase using a for loop just so it is easier to read when we print out the letters later on.
Console c = System.console();
char[] letters = c.readPassword("Please enter a secret word: ");
for(int i=0; i<letters.length; i++) {
  letters[i] = Character.toUpperCase(letters[i]);
}
In our for loop, we use the letters array's length property (using .length) so that we can go through each element of the array.
Before we forget, let’s quickly add two import statements at the top of our code, outside the line that reads public class Main. We need to import Console and Scanner so that our program can use their functionalities.
import java.io.Console;
import java.util.Scanner;

public class Main {
	...
}
You can try running the code now to see what we have acheived so far (since this is in the Main class, we can just use the Repl run button).
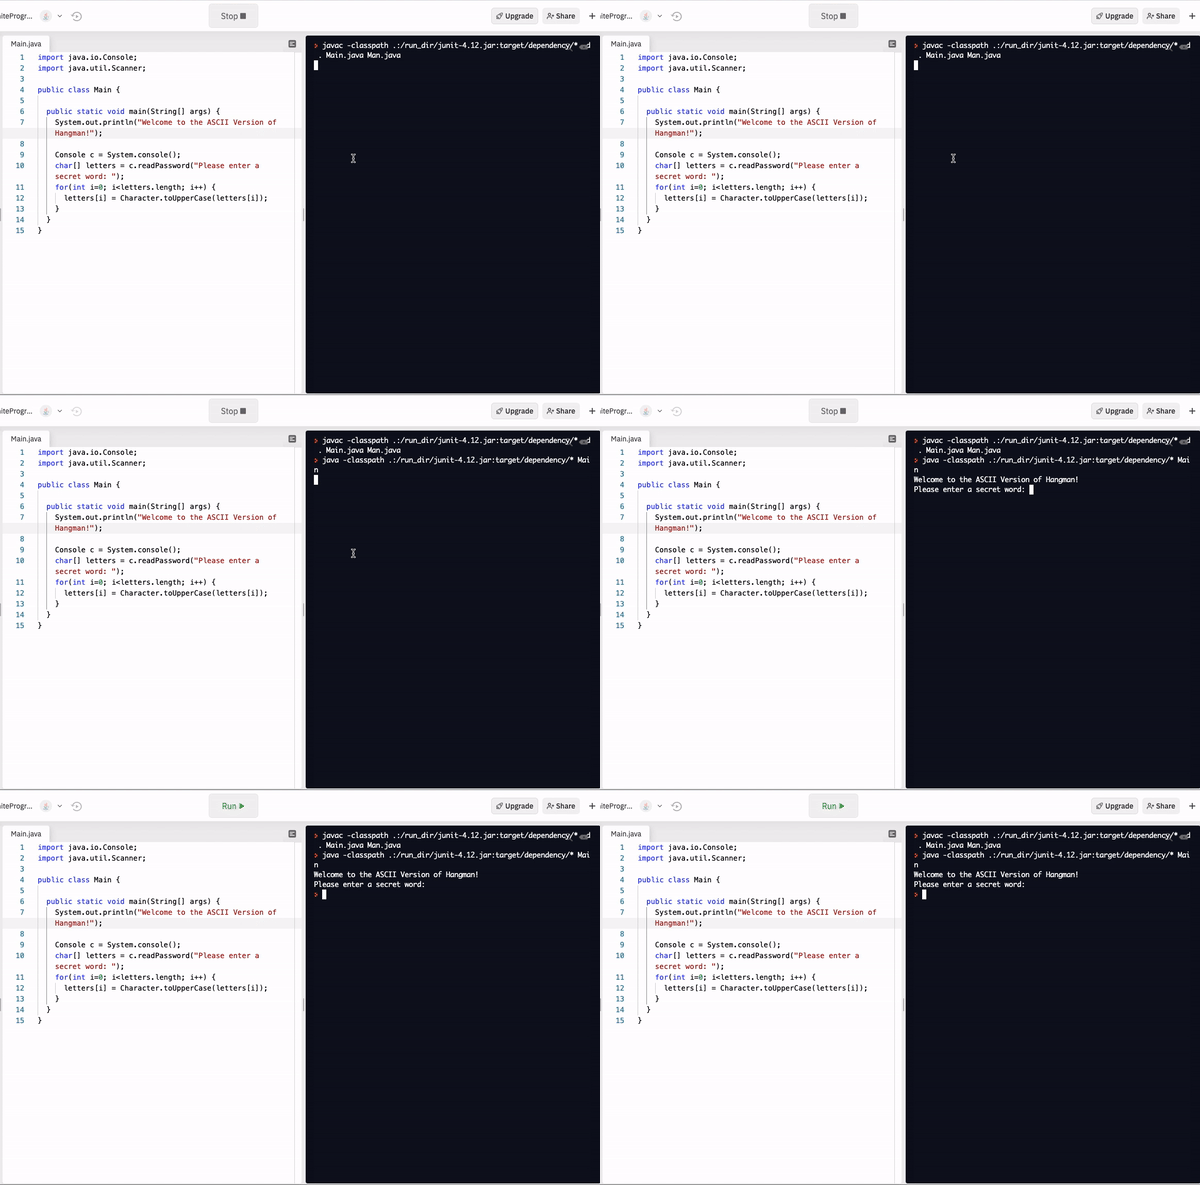
Great, our code can accept a secret word! Now we will need to create another Array of characters of same length as letters and have all the letters be underscores with the help of a for loop. We can add the following inside the Main class (beneath our previous for loop).
char[] puzzle = new char[letters.length];
  for(int i = 0; i < puzzle.length; i++) {
    puzzle[i] = '_';
}
This is exactly like our previous for loop, except instead of making the letters uppercase this time, we are simply replacing them with _.
Part 5: The Main Class Loop Logic
You will see that it exits after entering a word, so let's crack on with designing the game! But before we do that, we need to create a Man object to hang and a Scanner object to accept user input for letters. Add the following code right below our previous snippet.
Man m = new Man();
Scanner s = new Scanner(System.in);
Ok, now we’re officially ready. Let’s think about the game of hangman for a second. How is it played? Well, it’s turn-based.
- Someone guesses a letter.
- If it’s right, then you replace all the letters of the word that corresponds to the correctly guessed letter. If it’s wrong, then you hang the man once.
- Once all the letters are guessed, they win; otherwise, you win. We can carry over this logic to Java and use a
whileloop. - Each iteration of the
whileloop is a turn for the game, carrying out different actions based on the guessed letter. - The while loop should only be run when the man is alive, so we set our condition to
m.isAlive().
while (m.isAlive()) {
	//TODO: Add main game logic here
}
Now that we got the while loop condition, let’s focus on one turn of the game. Let’s print out a prompt for the user to enter a letter and print out the puzzle so far (all underscores) with a for loop. The puzzle will be updated each turn of the while loop, if there are any changes.
System.out.println("Puzzle to solve: ");
for (int i = 0; i < puzzle.length; i++) {
  System.out.print(puzzle[i] + " ");
}
System.out.println(); //Line of space
Using the scanner we created earlier, we also need to accept the first character of what the user types in and store that to a variable. So even if the user types in a whole word like “ship,” the character ‘s’ will be assigned to the variable.
System.out.print("Please guess a letter: ");
char guess = s.nextLine().toUpperCase().charAt(0);
Tip: it’s always helpful to name variables to what they actually represent. Code can get extremely confusing if x’s and y’s and everything.
Now let’s check if the secret word contains guess! It’s a good idea to declare a boolean that indicates whether the secret word contains guess. We set it to false because we don’t know if guess is correct or not yet. Just to remind ourselves, we currently have two different char Arrays. We have letters, which is the answer, and puzzle, which is what the player has currently guessed so far (basically what is on paper when you play the game). So to check if guess is correct, we loop through letters to find a match.
boolean containsGuess = false;
for (int i = 0; i < letters.length && !containsGuess; i++) {
  if (letters[i] == guess) {
     containsGuess = true;
     for (int j = 0; j < letters.length; j++) {
        if (letters[j] == guess) puzzle[j] = guess;
     }
     break;
  }
}
In the above code snippet, letters[i] == guess allows us to check if the guess is contained in the word. If there is a match, we set containsGuess to true, loop through puzzles to replace all the letters that correspond to guess, and then break out of the letters loop.
If there is no match, containsGuess remains false and we hang the man using an if statement. But we can’t just put hang() because the hang method is in the Man class not Main class. Instead, we type m.hang() to tell Java to access the hang method associated with our Man object.
if (!containsGuess) m.hang();
Since we have checked whether the user’s guess was correct and have updated our man accordingly, we should print the man out.
System.out.println(m);
How does our program know how to print our man? When you print out an object like this, the toString method of that object is automatically called, so it prints out new String(body).
We need to do one final check before going into the next iteration for our while loop. This is to check whether the player has solved the entire word. We can do so by checking if all underscores in puzzle have been replaced.
boolean checkUnderscore = false;
for (int i = 0; i < puzzle.length; i++) {
  if(puzzle[i] == '_') checkUnderscore=true;
}
if(!checkUnderscore) break;
The logic here is pretty similar to the earlier section where we checked if guess was correct. If there is no underscore (!checkUnderscore boolean is true), then the break keyword allows us to exit out of the while loop, even though the Man may still be alive.
Guess what, we’re actually done with the game logic! The game can now be played. But don’t try it out just yet because we need to determine who the winner is.
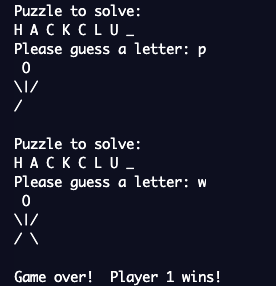
Outside the while loop, we need to print out different victory messages according to the status of the man. If the man is still alive, then the word has been guessed correctly and Player 2 wins. If the man is dead, that means Player 2 failed to guess the word, so Player 1 wins. This can be done using an if-else statement.
Add the following code outside of the while loop, but still in the Main class.
if (m.isAlive()) System.out.println("Success!  Player 2 wins!");
else System.out.println("Game over!  Player 1 wins!");
Now we’re done! Try running it by clicking the big green Run button at the top. Go grab a friend or a parent, and see who wins in your very own hangman game! One quick note, when you type in the secret word, you will need to hit “enter” for the Console to register your word.
Part 6: Hacking
The fun doesn’t stop here! You may already have some ideas for how to create extensions to improve your game and you should definitely try them out. So, here of some of our ideas and perhaps you can gain some inspiration for more amazing extensions:
- Add gallows for the man to hang on - repl.it
- Make the computer try to guess your word - repl.it
- Alternating game between you and a friend until someone loses - repl.it
Well, you’ve arrived at the end of our project! Try the hacks above, and once you've finished, share it in the #scrapbook channel in the Hack Club Slack. Happy hacking!


